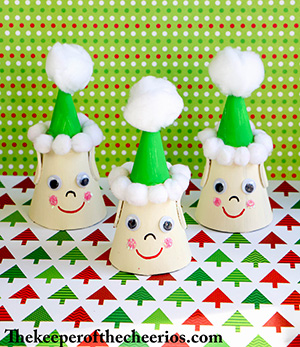
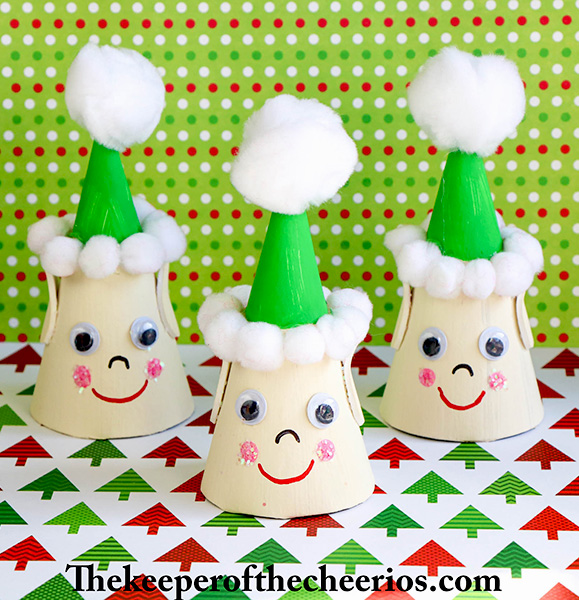
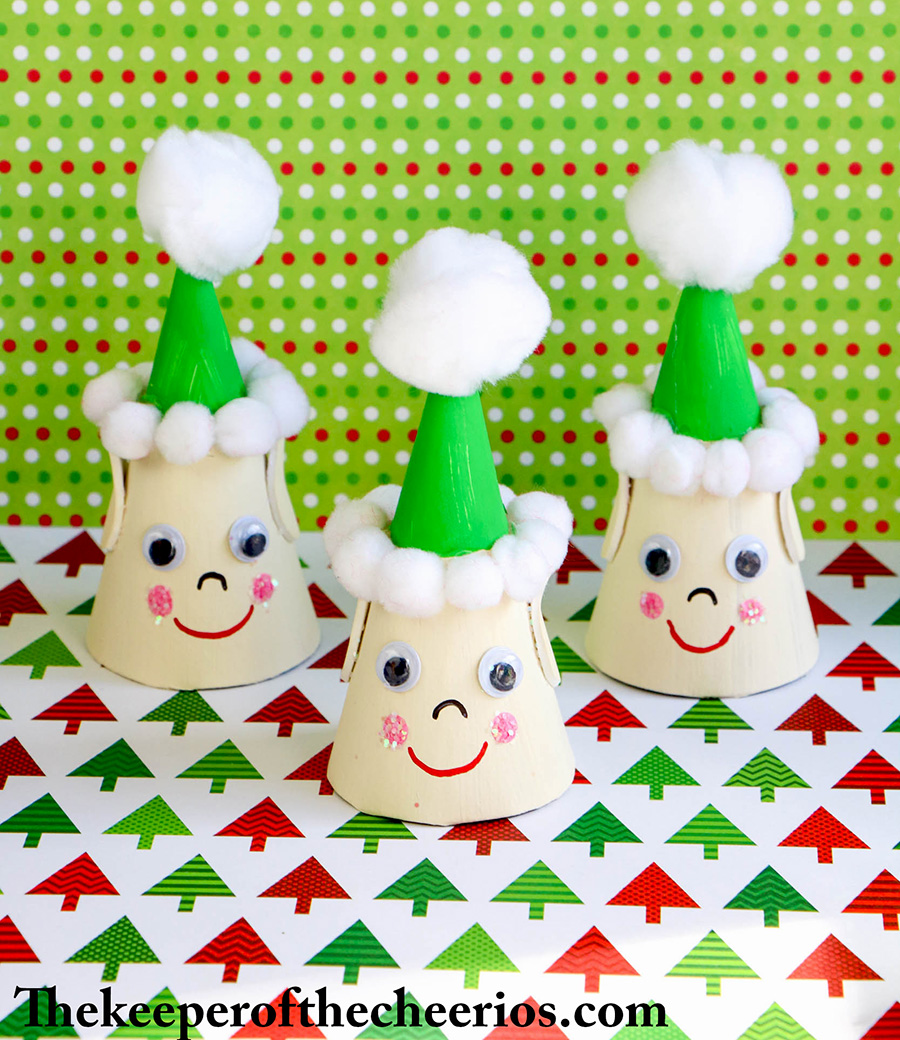
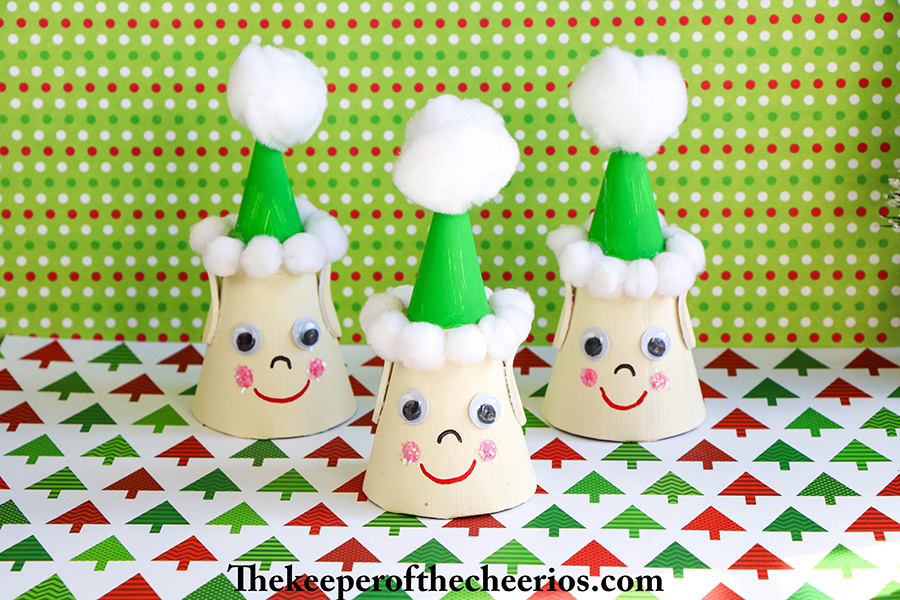
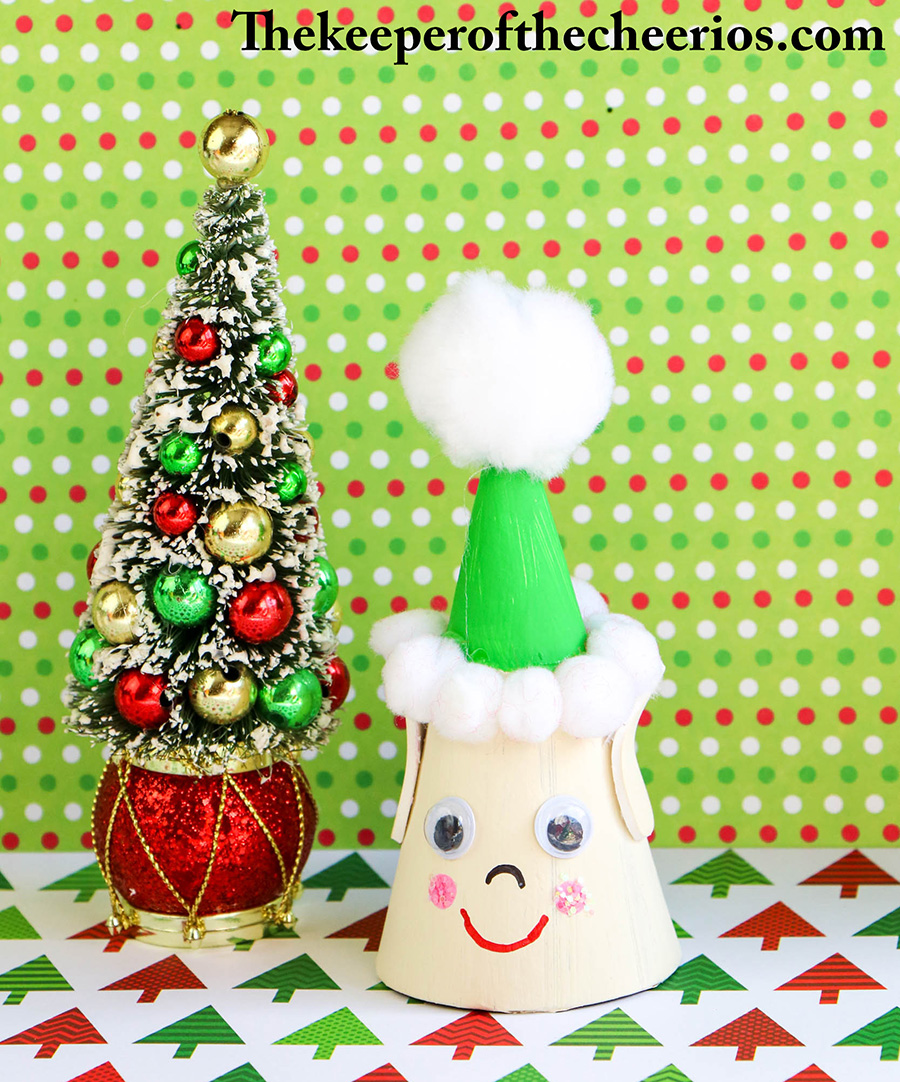
Cardboard Cone Christmas Elf
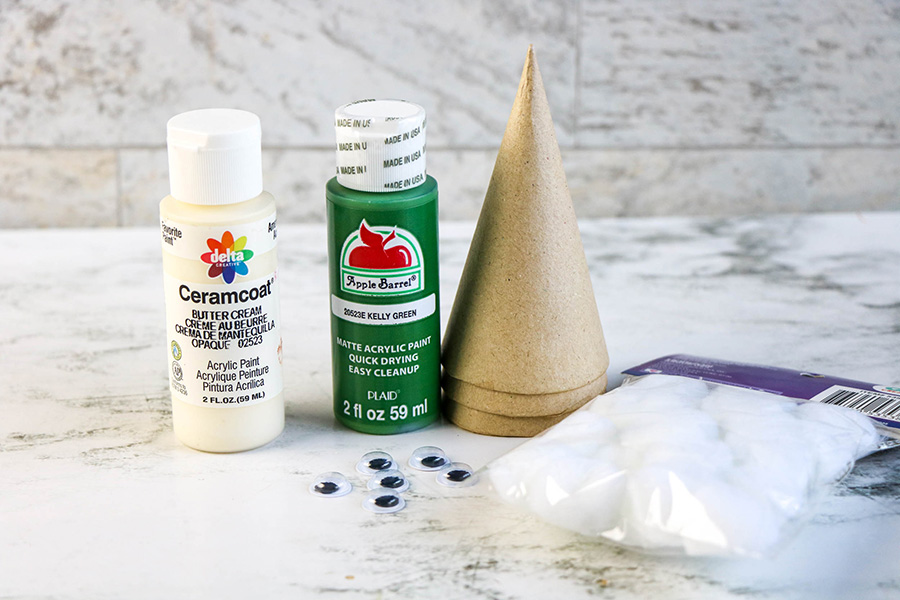
Materials:
Green paint
Beige Paint
Foam paint brush
Adhesive foam in beige or painted beige
¼ inch to ½ inch white pom pom balls
1 inch pom pom balls
Hot glue or glue dots
Wiggly eyes
Black permanent marker
Red permanent marker
Ribbon, for hanging if desired
Directions:
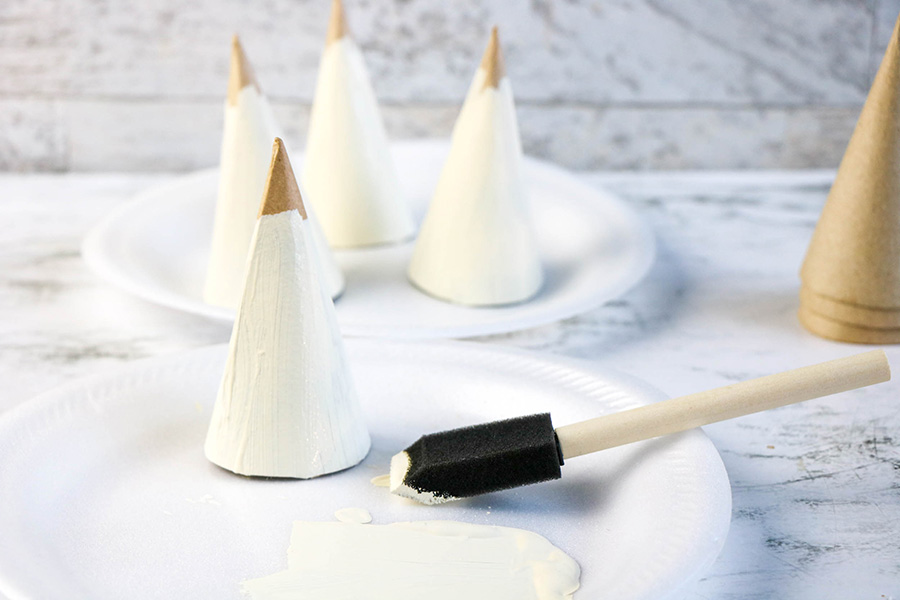
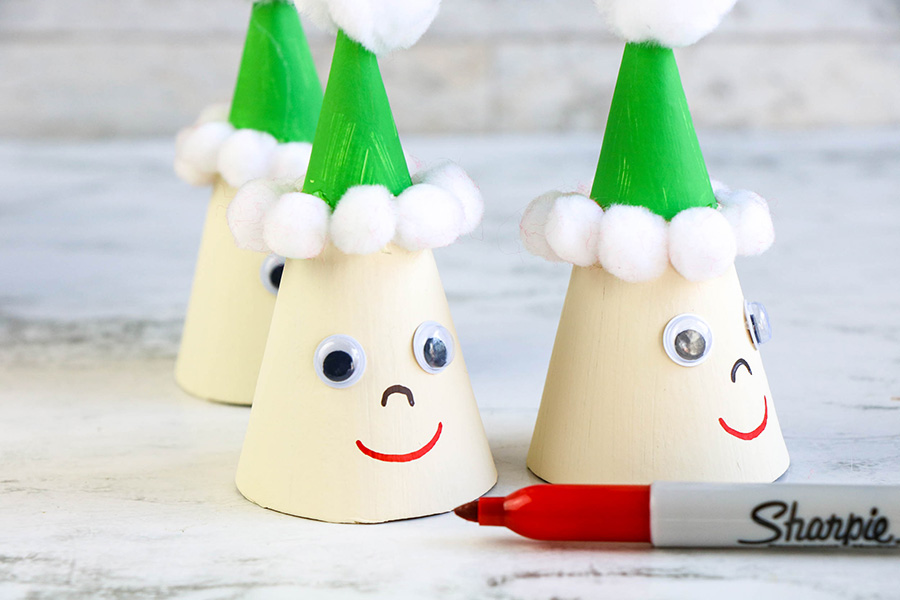
- Paint the paper mache cone with beige paint. Allow to dry.
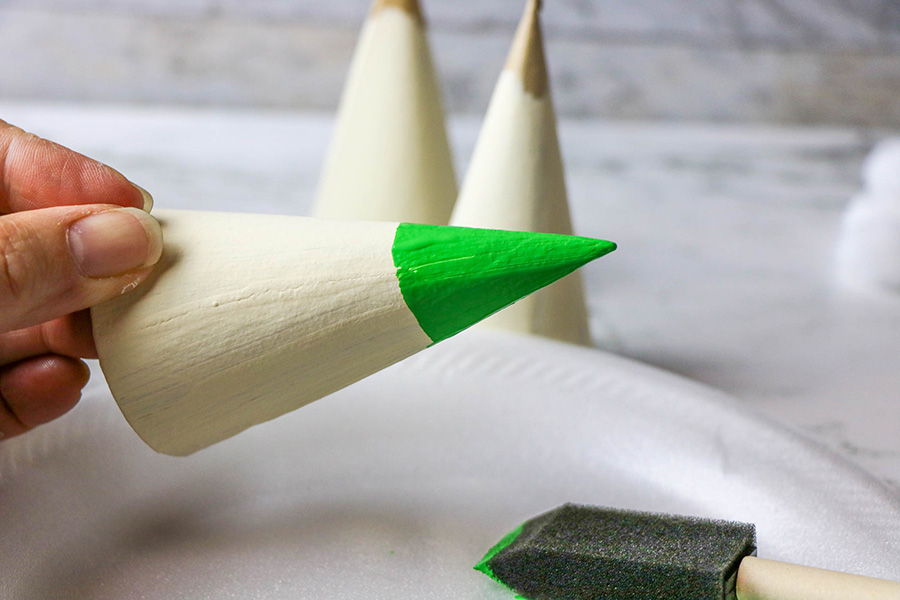
- Paint the cone green from the tip of the cone about 1 ½ inch to 2 inches down. Allow to dry completely.
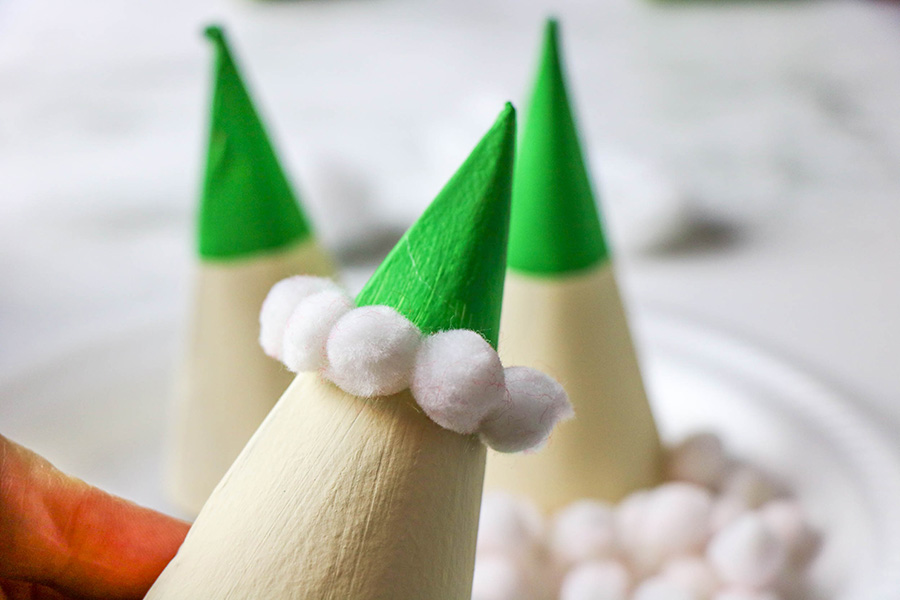
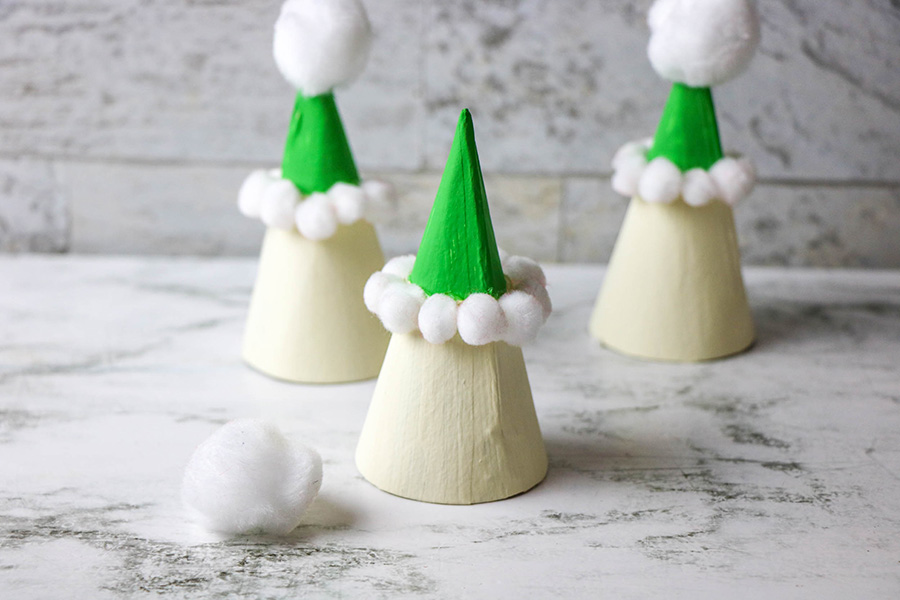
- Add a row of small pom poms around the cone where the green and beige paint meet, Add a large pom pom on top.
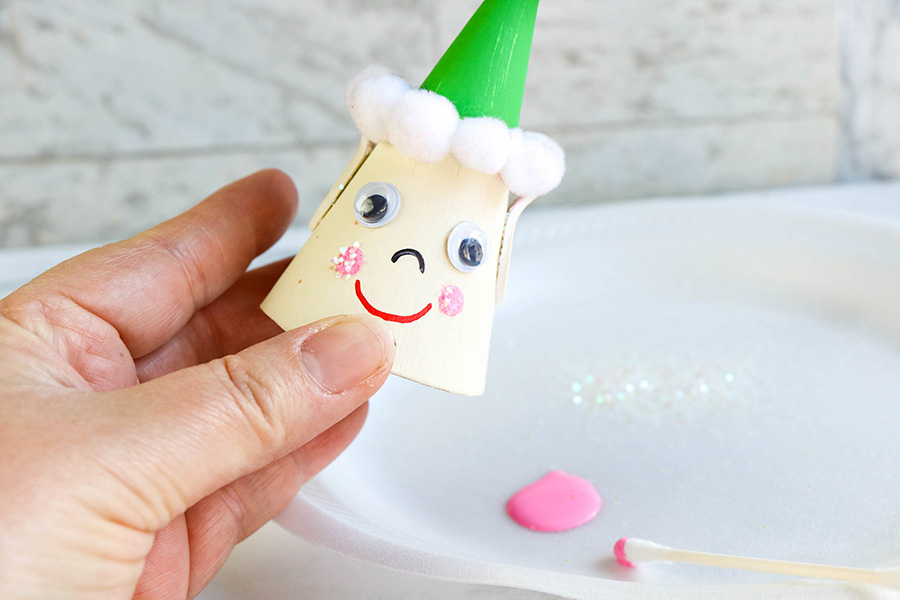
- To create a face, add wiggly eyes and draw a mouth and nose with permanent markers
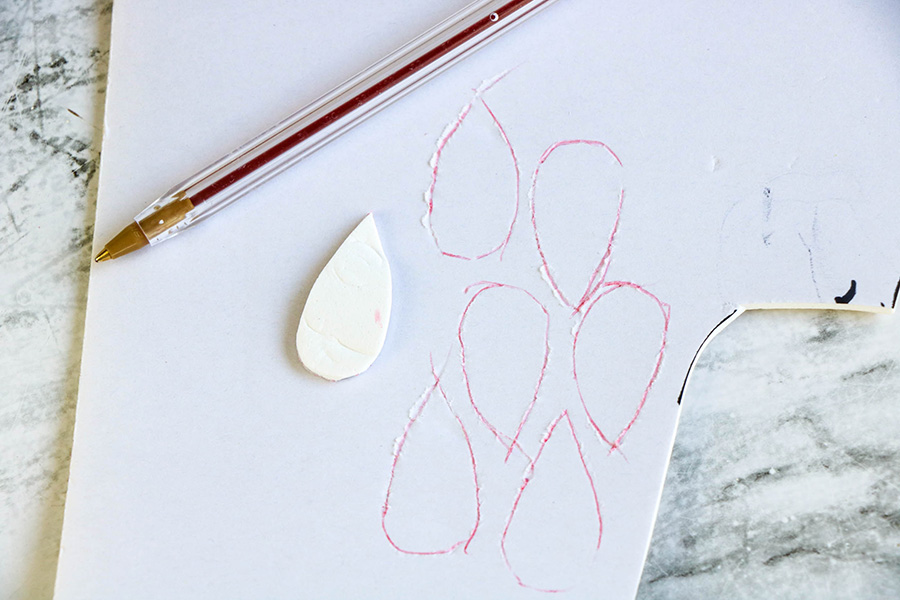
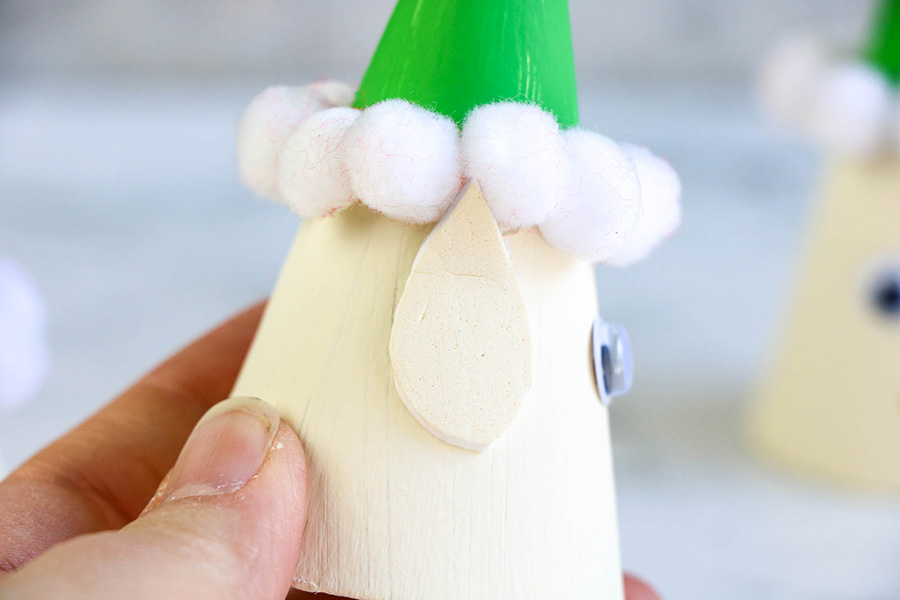
- Cut a template of the ear shape you desire and trace from the foam. Cut away and attach an ear to each side of the cone.
- If desired, carefully use a thick needle (like a darning needle) to pierce through the top of the cone. Thread the hole with ribbon. Tie the loose ends of the ribbon together to form a hanging loop.
This post contains affiliate links

