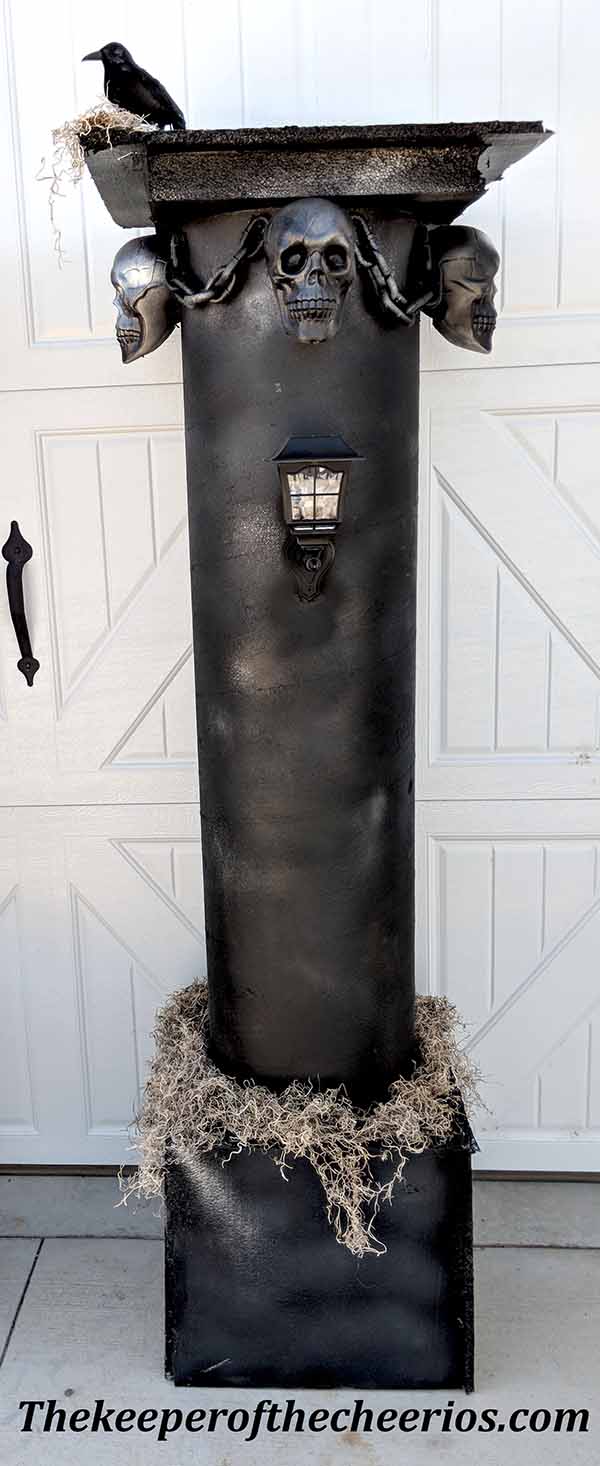
Spooky Halloween Pillars
Materials:
- Thick Foam (about 3″ thick)
- Foam sheeting (about 1″ thick)
- Inexpensive end tables 2pk FOUND HERE
- Concrete Tubes (found at local hardware store)
- Liquid nails or super string gorilla glue
- Dollar store skulls and chain
- Scissors
- foam cutter (optional)
- Hot glue (used to hold items in place temporarily)
- Spray paint (Black, silver, stone look, ect..)
- Spanish moss
- Led lanterns FOUND HERE
- crows (optional)
Directions:
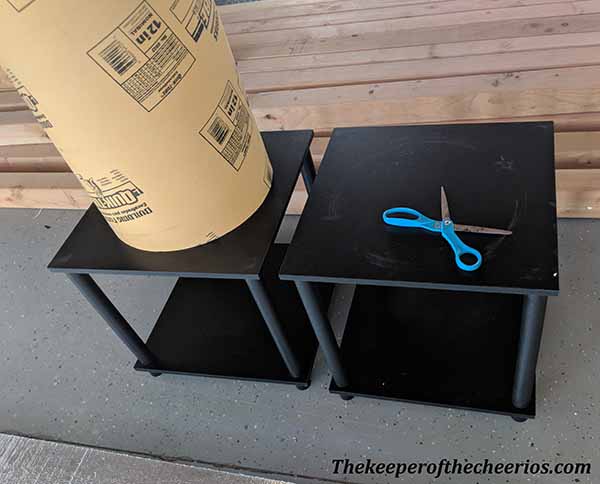
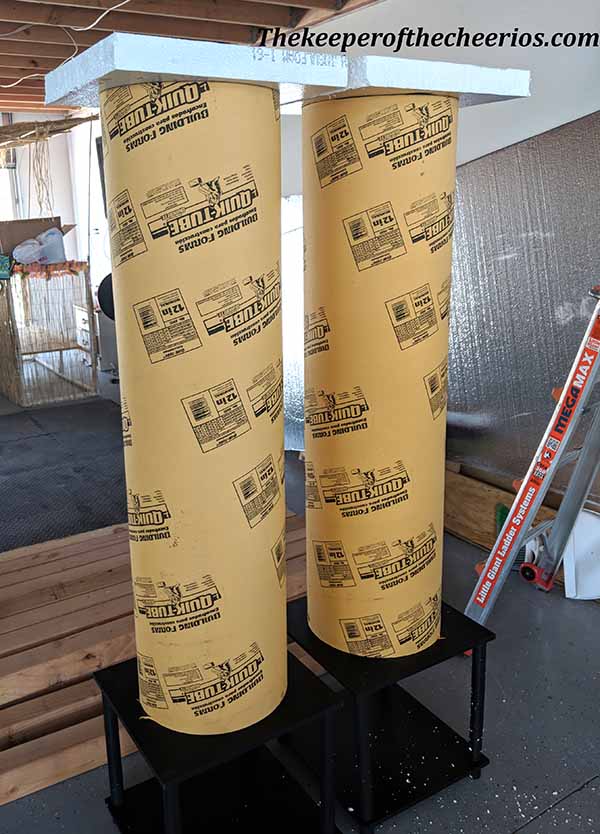
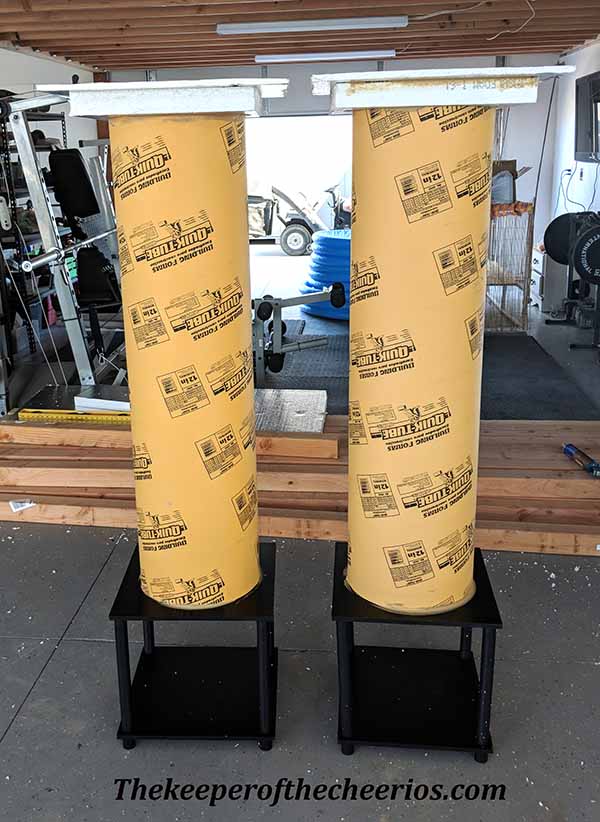
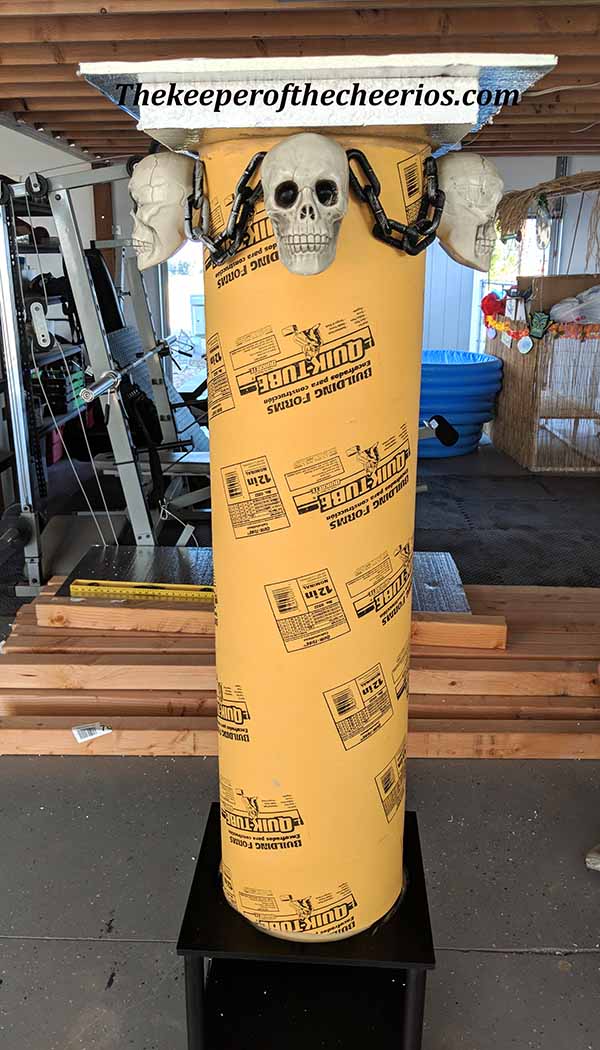
- Glue your concrete tubes to the top of your end tables (use liquid nails, gorilla glue or other outdoor rated strong holding glue)
- Cut out of your thick foam a decent size square (about the size of your end table base)
- Cut out of your thinner foam a piece slightly larger than the tick square
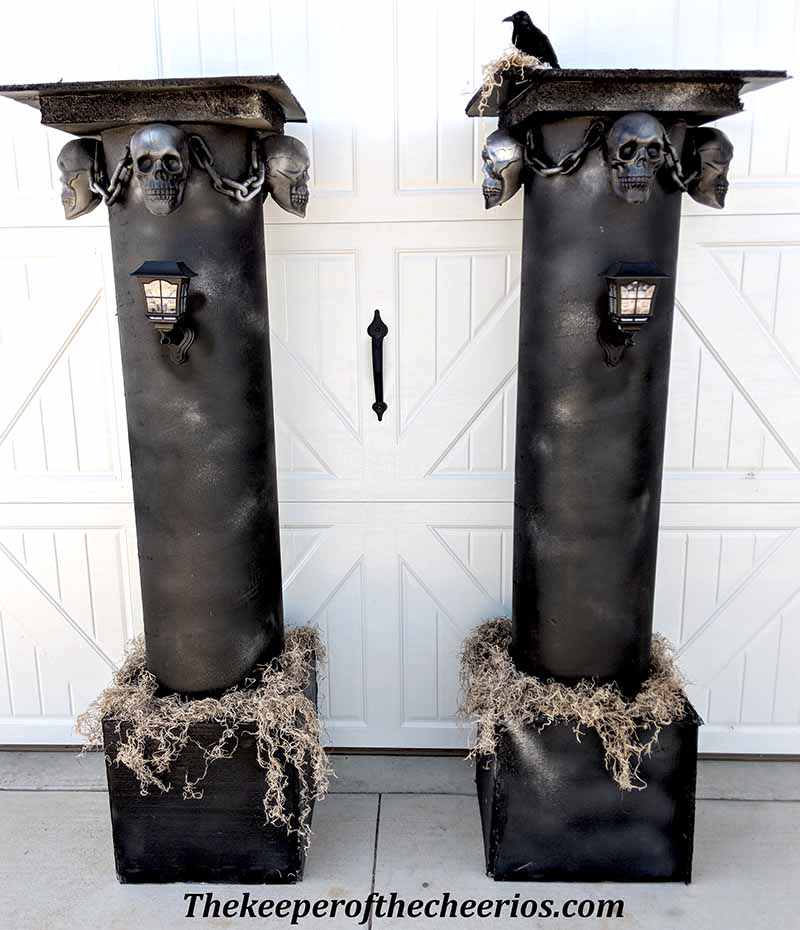
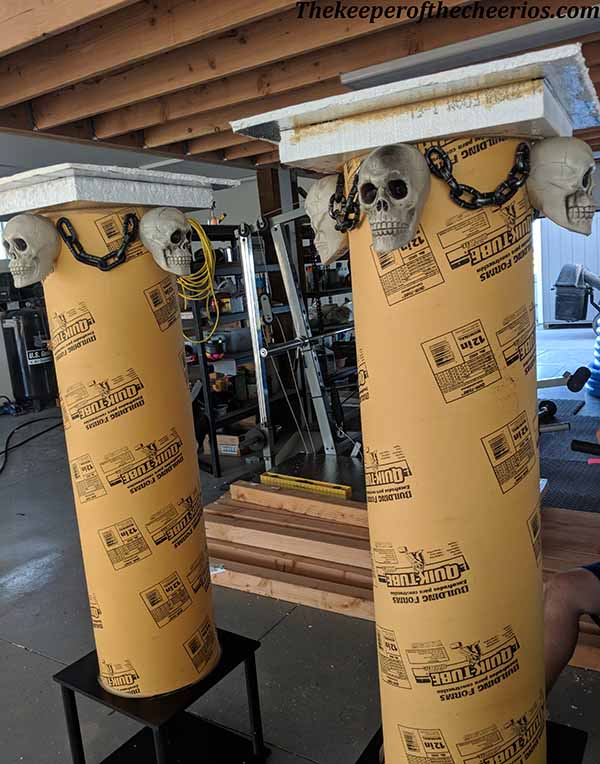
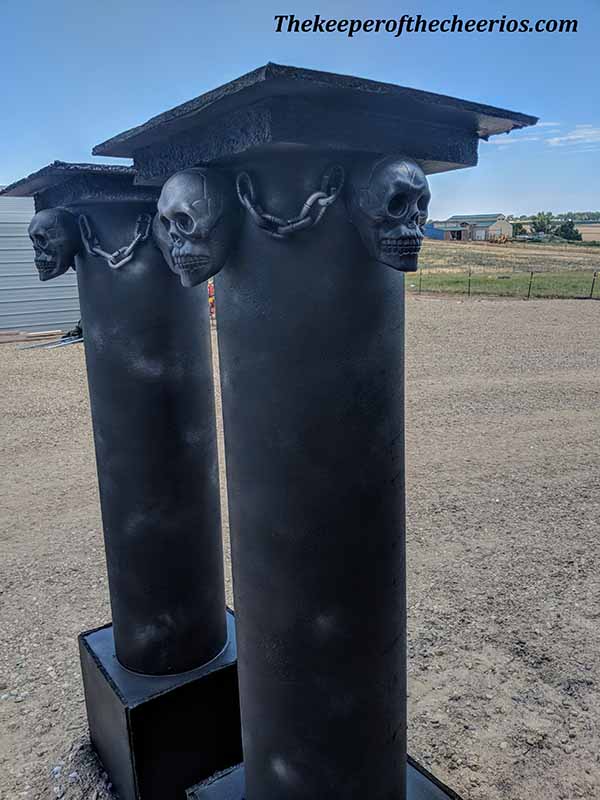
- Glue your thick piece and thing piece together to make the top of your pillar (see photos)
- Glue your foam to the top of your concrete tube
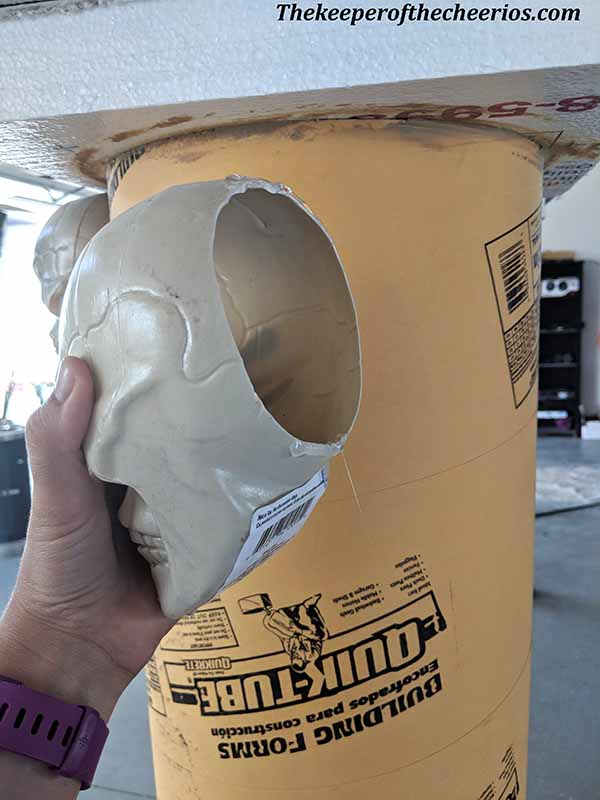
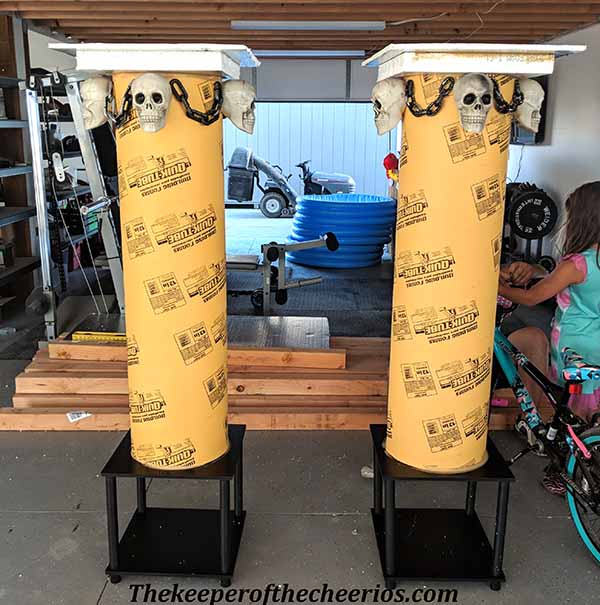
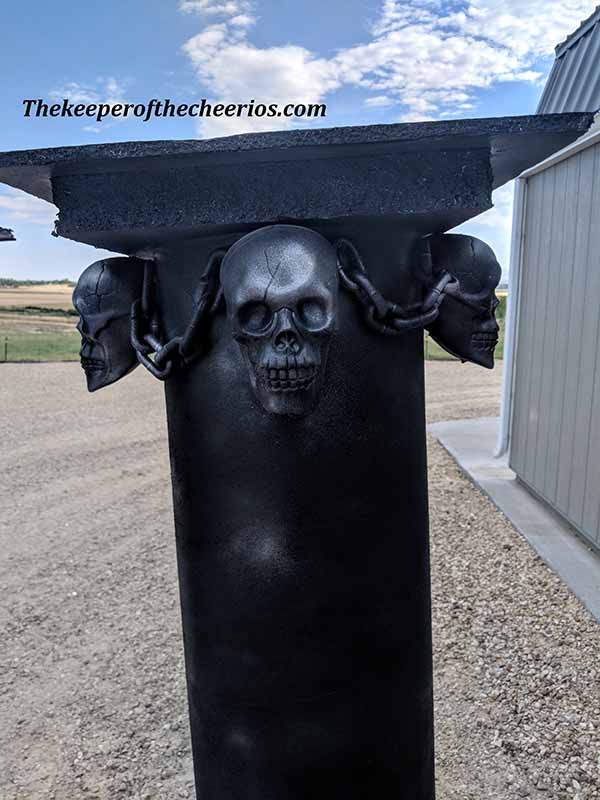
- Once your base is all dry cut the backs of your skulls off so they fit more flush against your pillars (see photos)
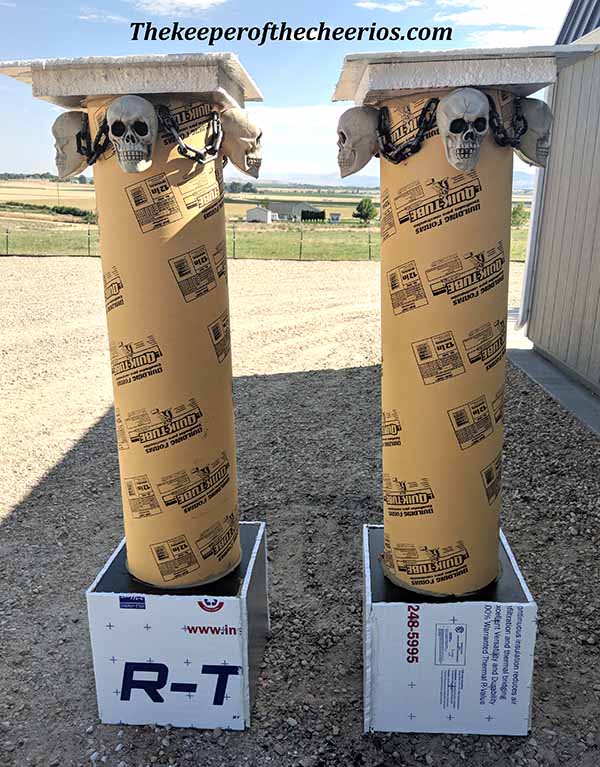
- Glue with your hot glue gun your skulls and chains on (add some of your stronger holding glue in between the hot glued areas, the hold glue is just there to hold it in place while the stronger holding glue sets up)
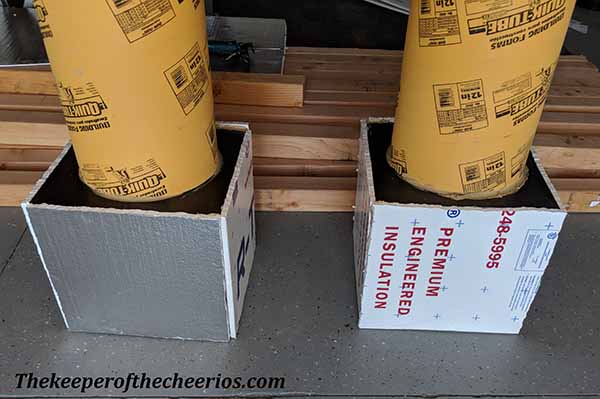
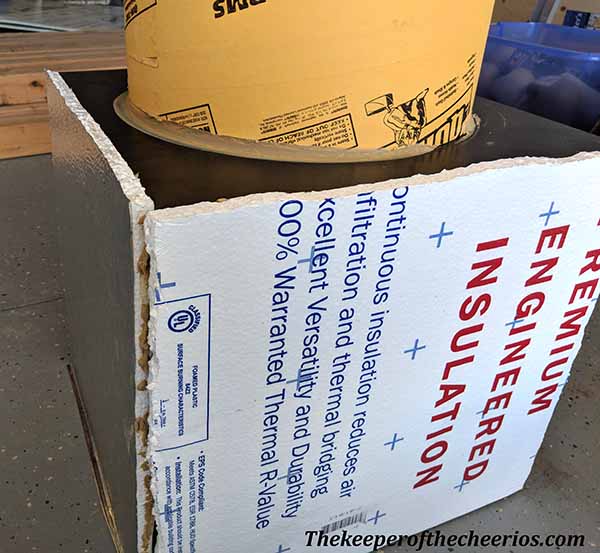
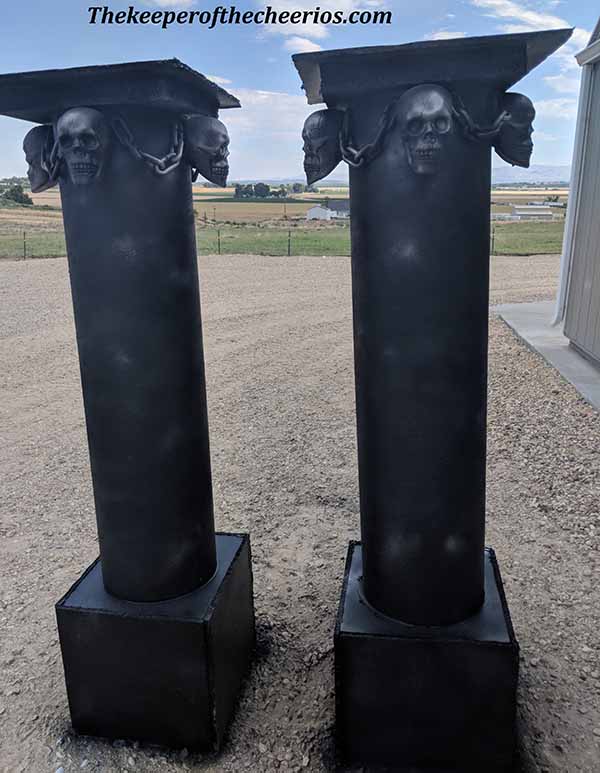
- Cut out of your thinner foam pieces to cover your open sides of your end table (making it appear to be a solid box)
- Use your strong holding glue to glue on
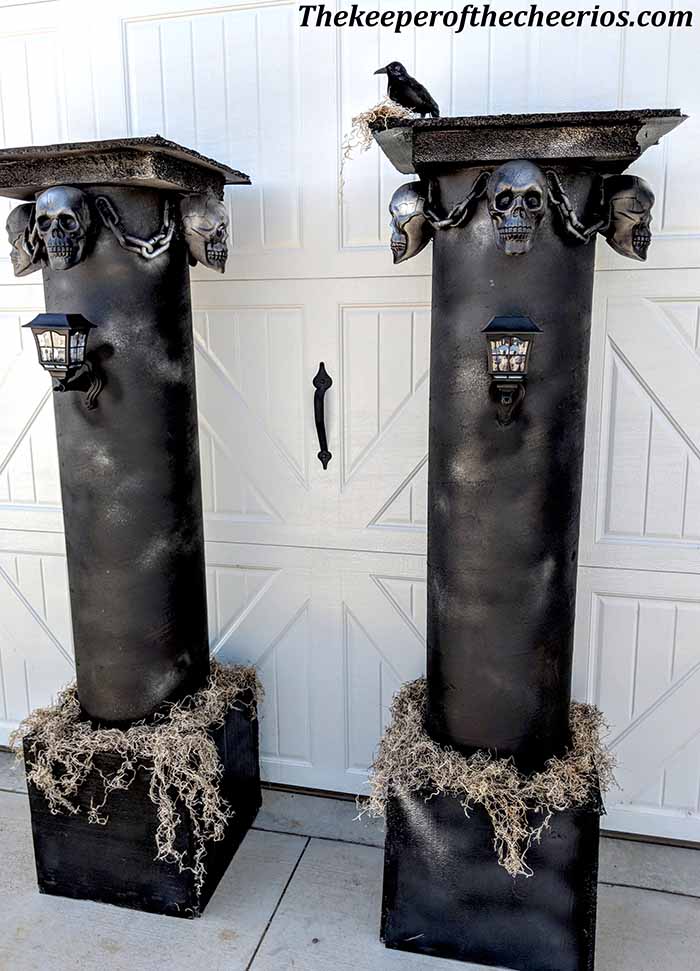
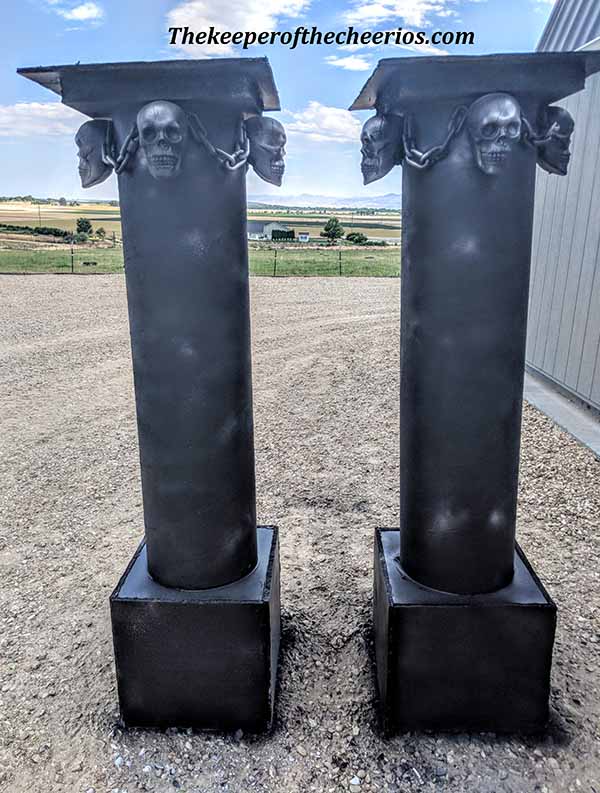
- Once everything is set up and dry spray paint your pillars black adding some dashes of stone look spray paint and silver
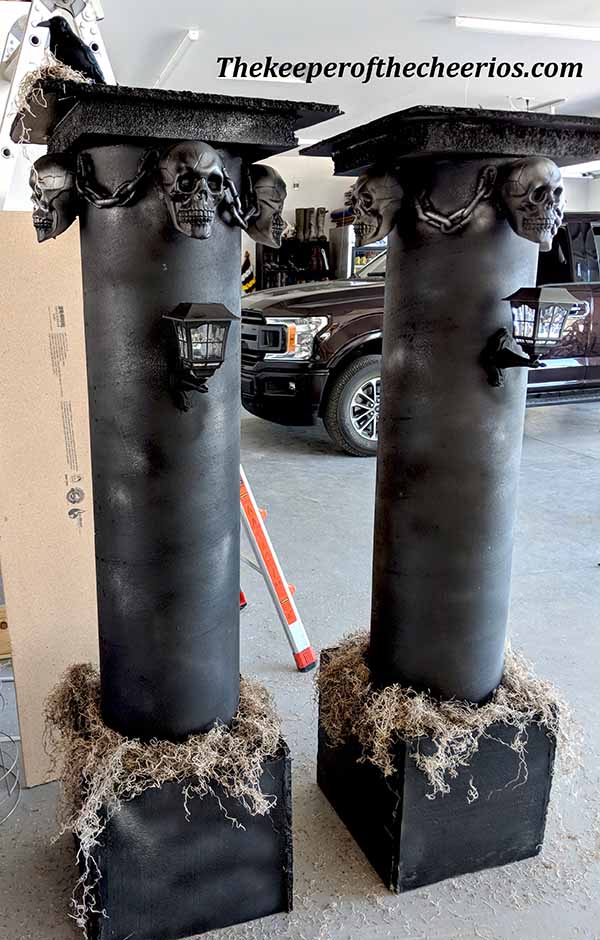
- Once dry glue/ screw on your led lanterns to the pillars
- Glue on some spanish moss around the base of your pillars and some crows
- add any other embellishments desired


This post contains affiliate links

