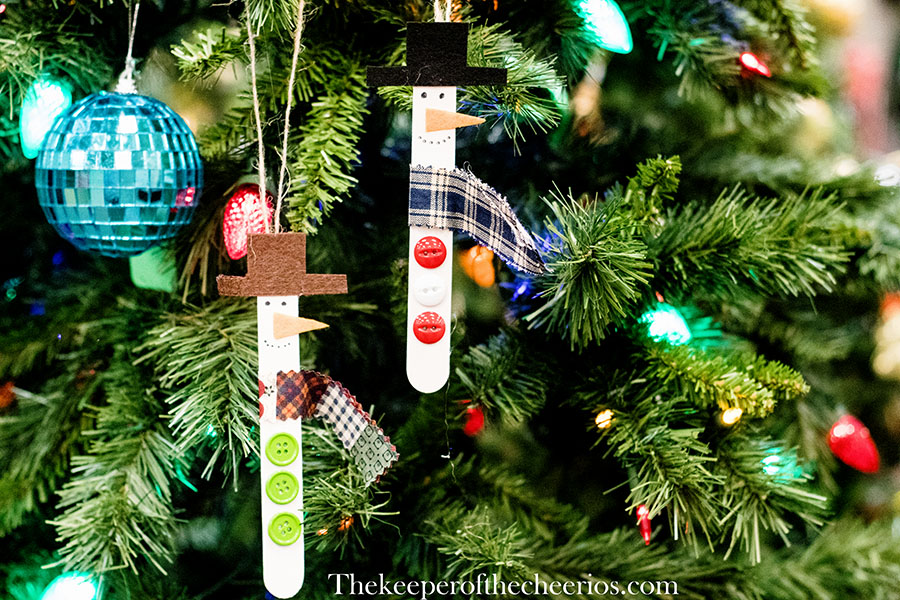
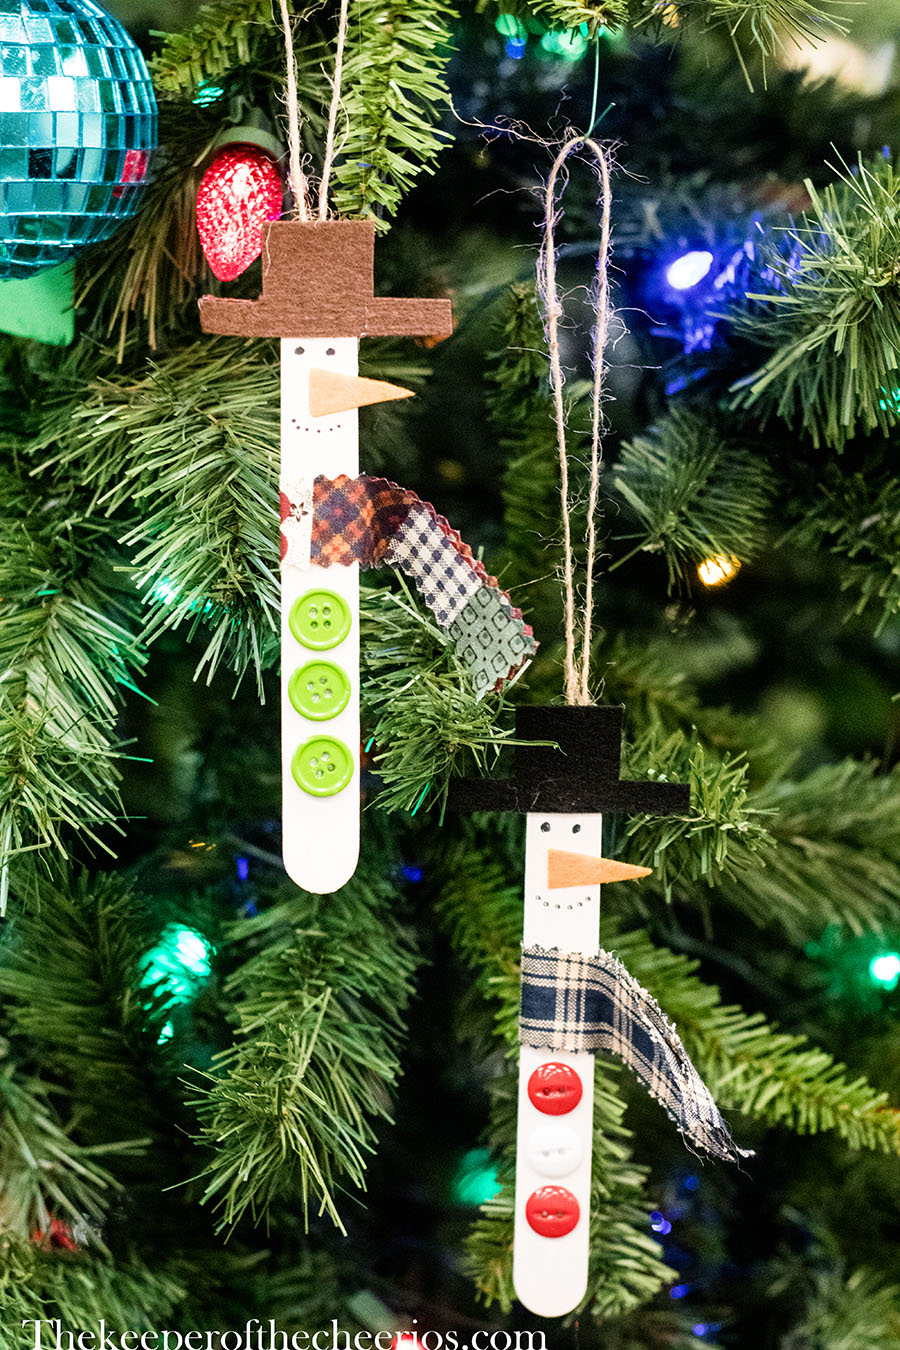
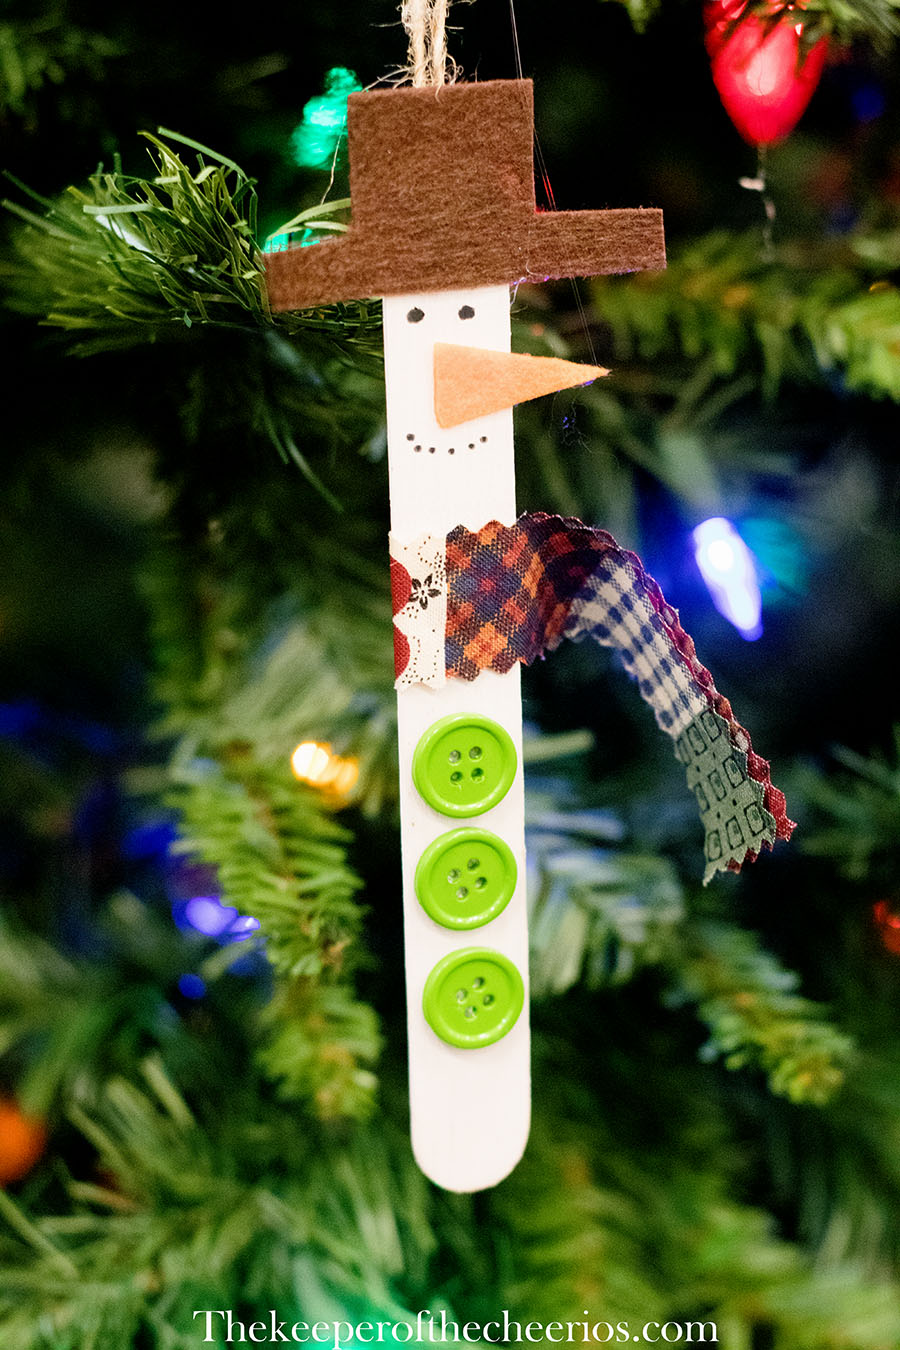
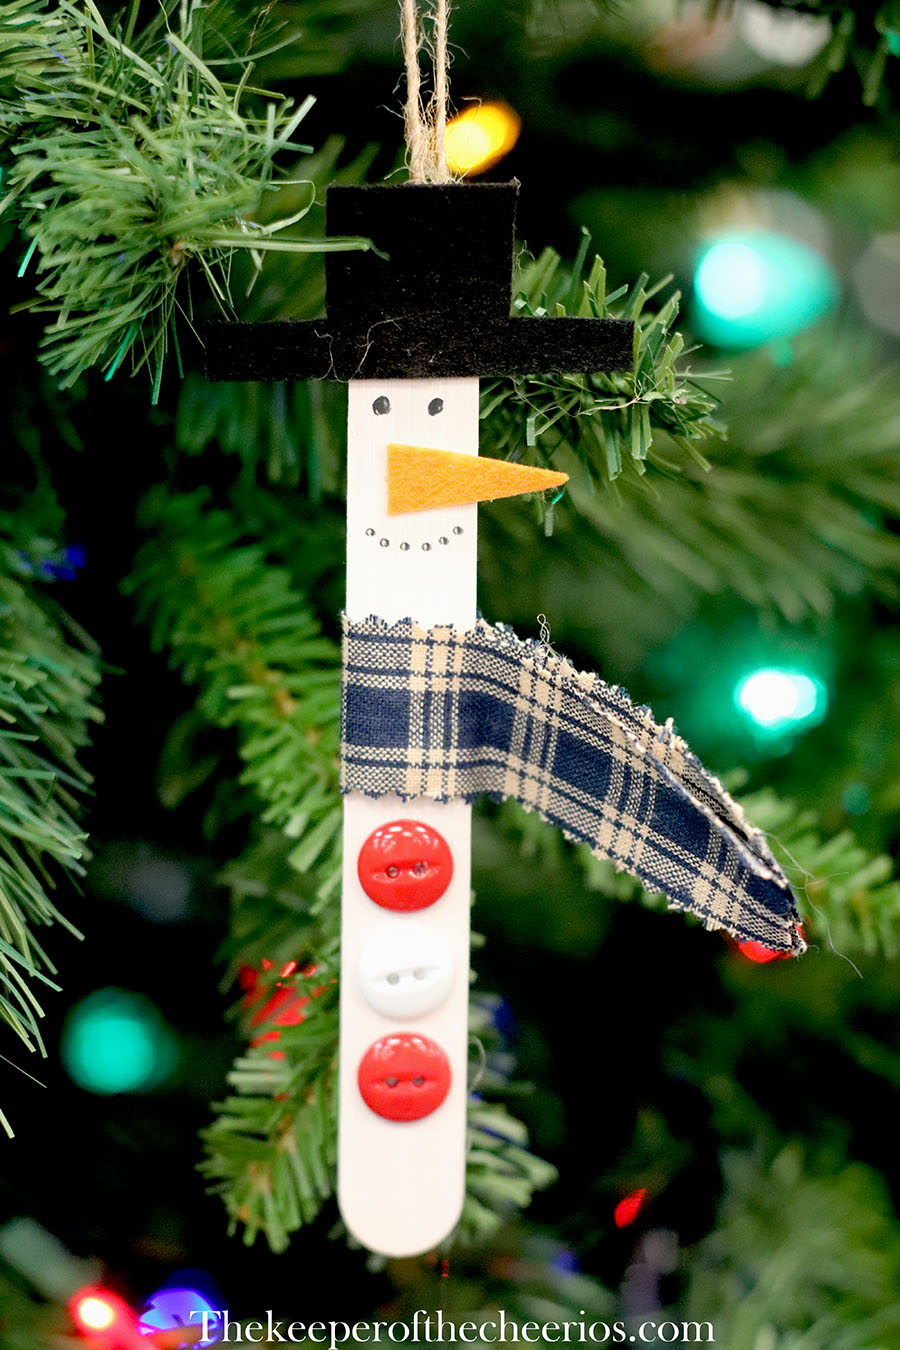
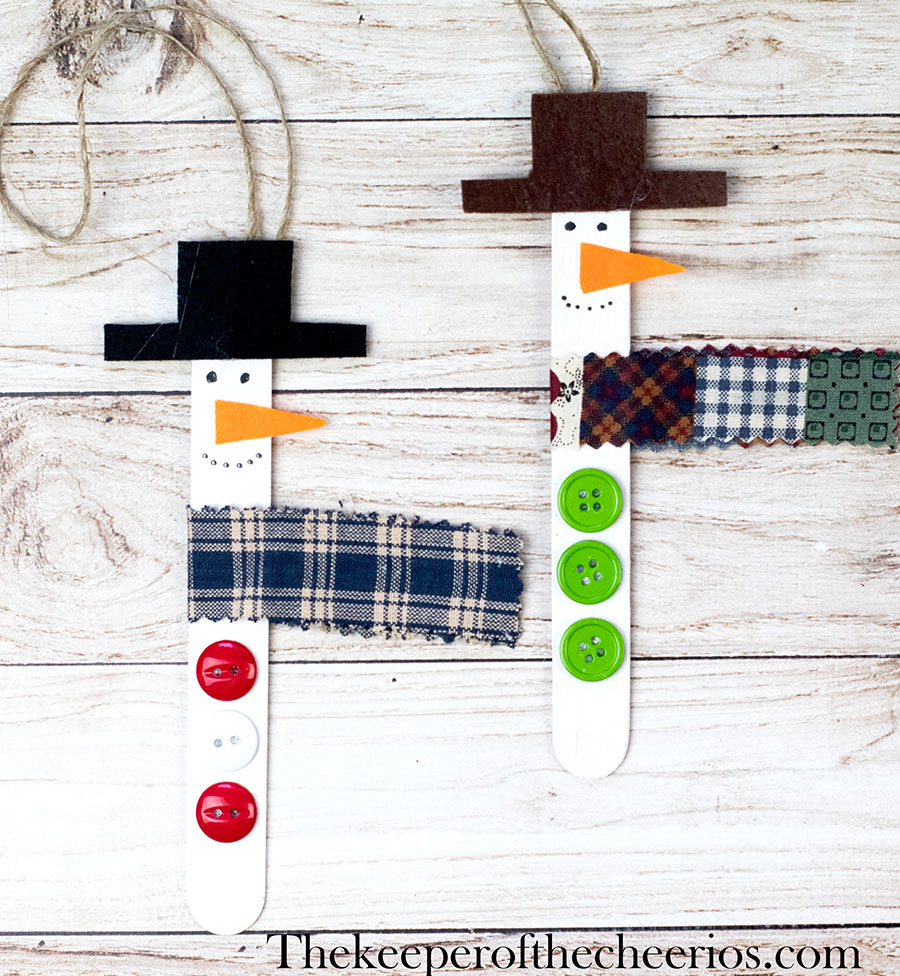
Craft Stick Snowman Ornament Craft
Materials:
- Craft sticks
- *White acrylic craft paint
- Craft brushes
- Craft foam
- Rustic fabric cut into a 7”x ¾” strip
- Buttons
- Ribbon or twine
- Glue Gun
- White school or Tacky glue
- Black fine point marker
- Floral wire cutters
- Craft scissors
Instructions:
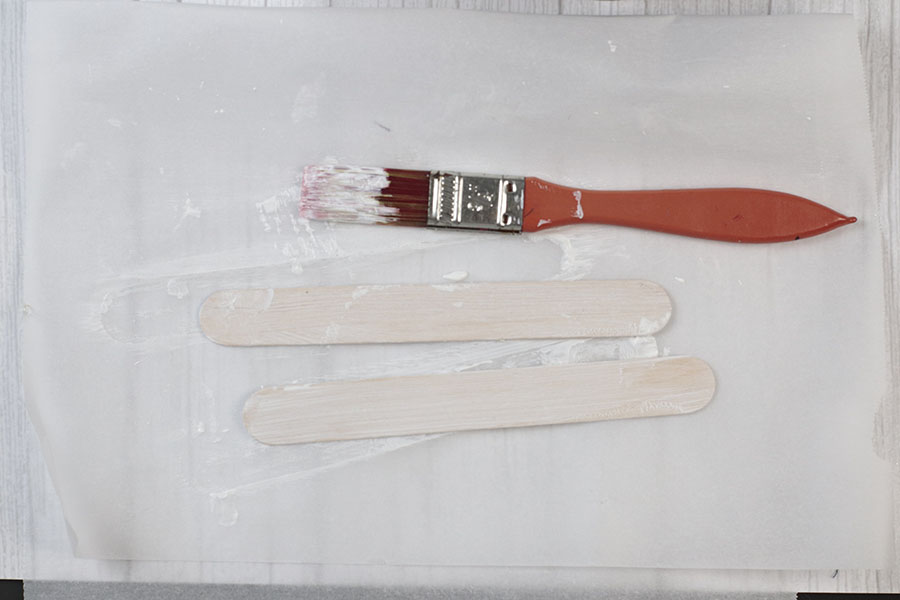
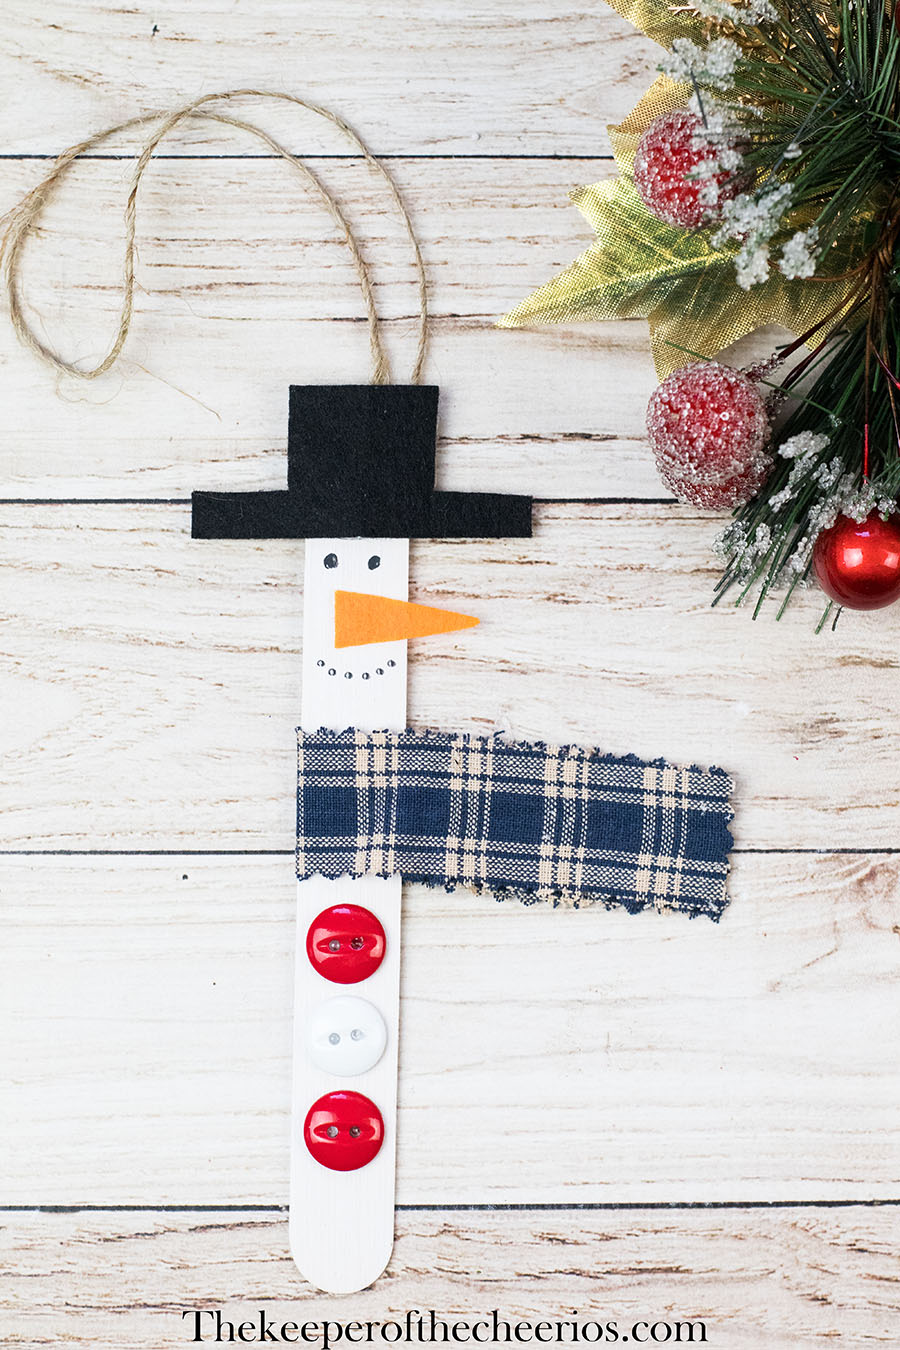
Step 1: Using your white paint, cover your craft stick evenly. Allow to dry completely and then paint one more coat. I found one coat didn’t give it a white enough color. (*Please note I left out my paint bottle from the supply photo)
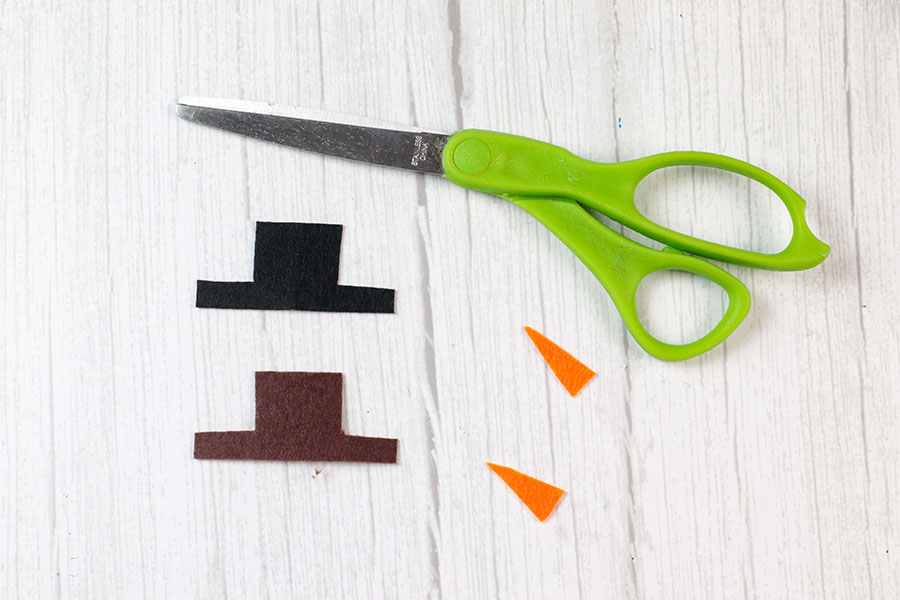
Step 2: While your paint is drying, cut your top hat and nose out of your foam or felt. Either will work great. We used felt as that is what we had I the craft bin. I did not use a template for these, I just winged it 😊 I am sure you can find them if you need one.
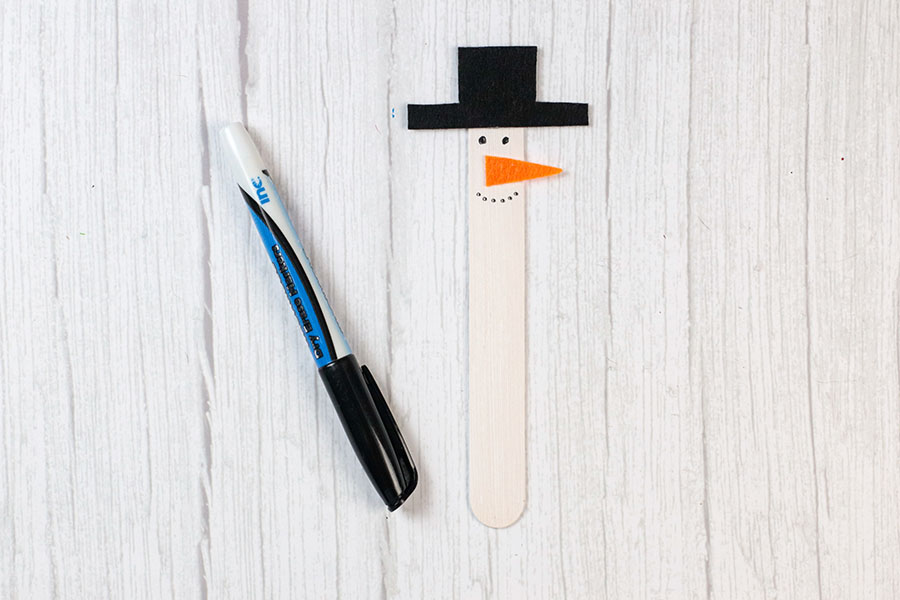
Step 3: Glue your hat and nose onto your craft stick.
Step 4: Using your black marker, draw your eyes and mouth for your snowman. Now he’s getting some personality, right?!
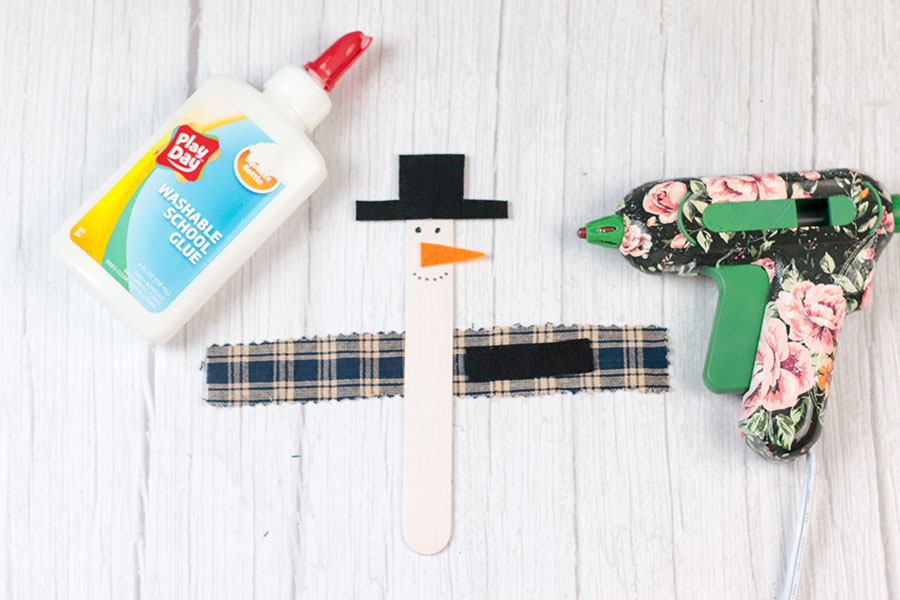
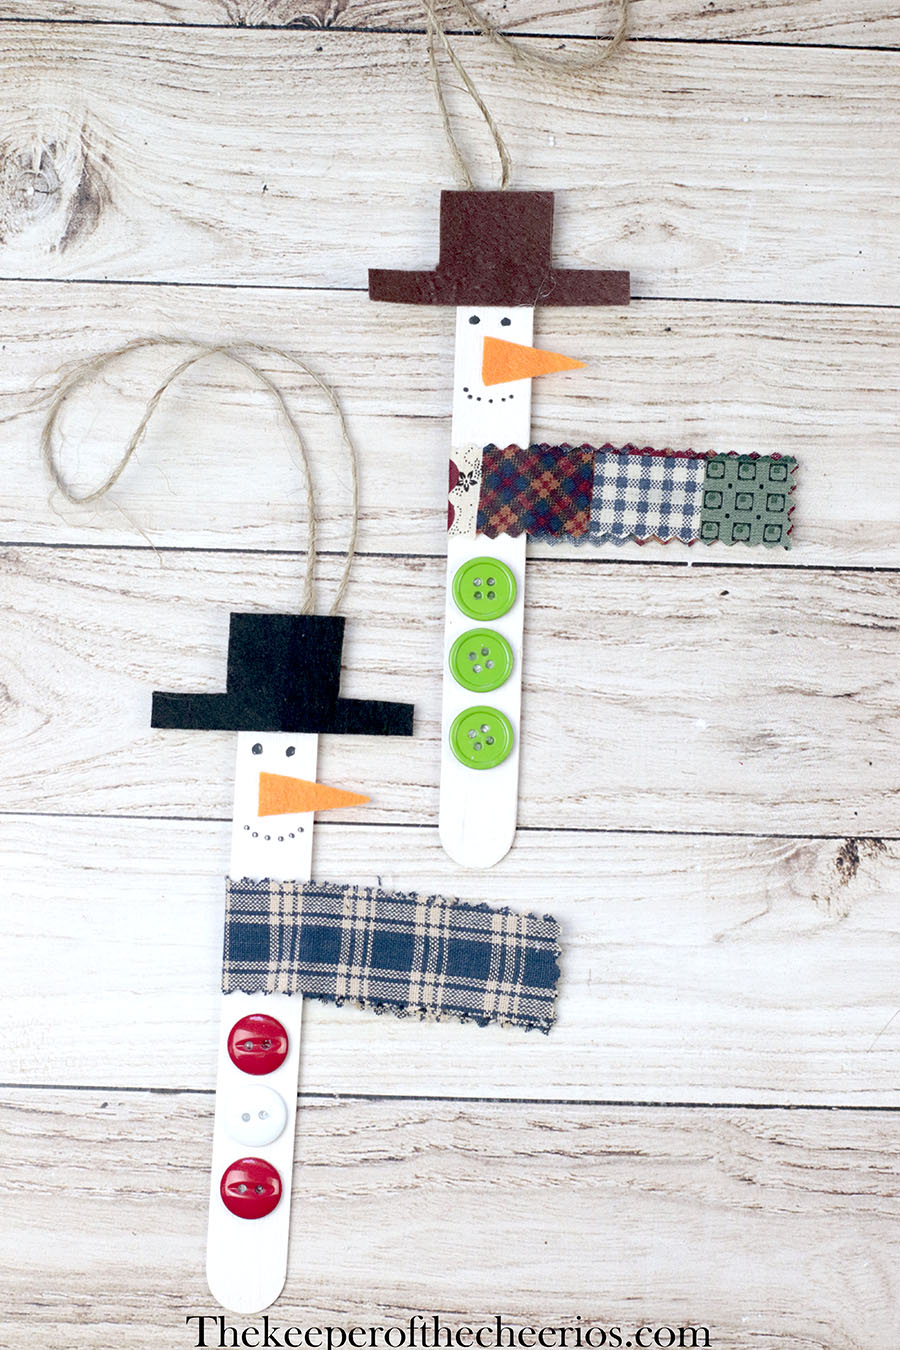
Step 5: Place your fabric scarf piece a bit below your snowman’s mouth. Position the craft stick in the middle of the fabric and place a dollop of glue in the middle of the fabric and press the craft stick onto it. Allow to dry.
Step 6: Now, this next step is completely optional. I did this step to give the scarf some stability. I cut a small rectangle of felt and glued it onto the open side of the scarf and the put a line of glue across the felt and closed the fabric onto it. If you want to skip this, then just add a line of glue across the fabric to close the scarf and leave out the felt 😊
Step 7: Cut a length of ribbon or twine approximately 6”, form a loop and tie in a small secure knot at the end. Allow to dry completely. Hang on your tree and enjoy!
