Christmas Wine Glasses (candle holders)
New Expanded Line
(looking for the glitter spray CLICK HERE for where I purchase mine, Looking for the yellow wiggle eyes CLICK HERE)
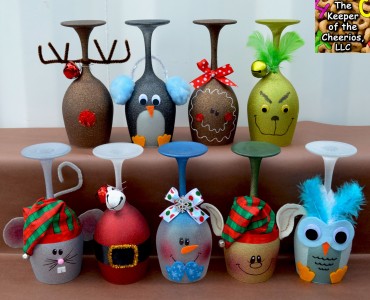
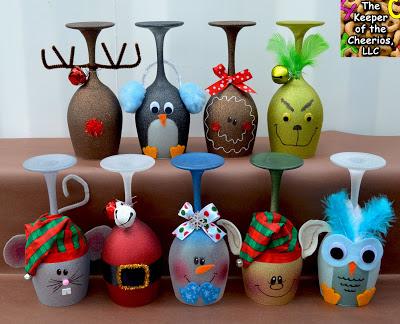
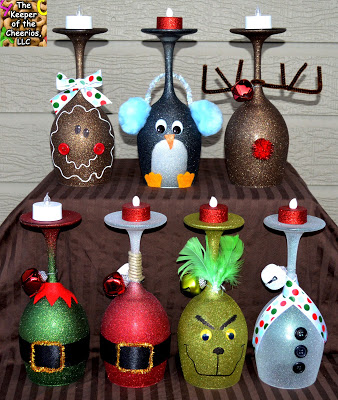
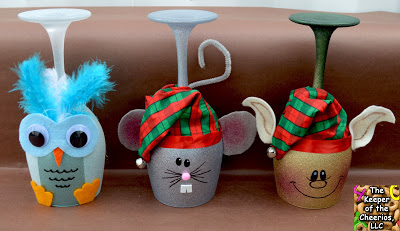
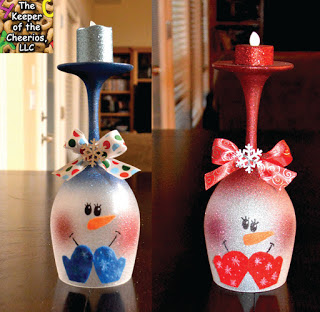
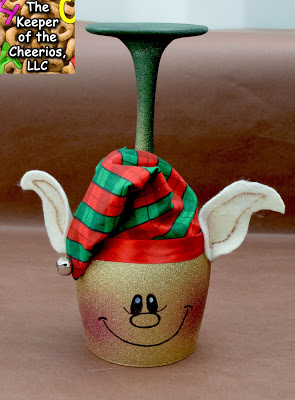
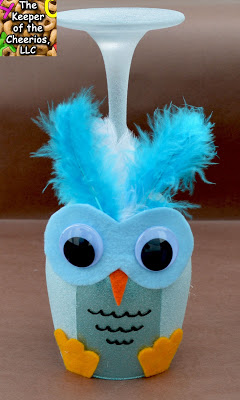
Make sure your glasses are clean then simply spray them with the glitter spray and let dry for 24 hours. Once dry you can embellish them any way you want. I used hemp for the stem on Santa along with ribbon and a gold pipe cleaner (chenille stem), the simple Elf used ribbon and a gold pipe cleaner (chenille stem) and red felt, for the detailed Elf face I used felt for the ears, a dash of posh pink for the cheeks and used a sharpie for the face. The gingerbread man I used paint pen, sharpie, buttons and a ribbon, penguin I used felt, pom poms, chenille stems, and wiggle eyes, for the snowman buttons and ribbon for a scarf, for Rudolf simply a glitter pom pom and pipe cleaner antlers, and the Grinch some feathers, wiggle eyes and a sharpie for the face. The Christmas mouse I used a chenille stem for the tail, pink pom pom for the nose, sharpie for the face and felt for the ears and teeth. We had these adorable Christmas bells at my work so I tied some to the glasses just for a little extra. All Items where glued on with hot glue or basic craft glue (I use Tacky Glue for my craft glue).
Penguin Tip: For the penguin and the owl I sprayed the inside of the glass white (or you can do a coat of white on the outside), then cut out of paper the shape of the belly (wet the paper and lay on the glass, over the white area) while the paper is damp it sticks to the glass long enough to spray the black over top, once dry you can easily removed the paper and the white underneath will show through.
Tip: for the cheeks of the Elf and the Snowman with mittens I used posh pink and just gave it a quick dash of pink (make sure to test the spray for a second to make sure you are getting an even spray of glitter before attempting the cheeks)
Hats: the hats are a little challenging, they are sewn up the back side from the top almost to the bottom leaving about an 1″-2″ opening the the bottom to wrap around the stem and then they are hot glued to the glass. I will try and get a template posted up in the next few days for the hat. Get the basic template here —> HAT TEMPLATE
NOTE: When spraying these you must treat it like any spray paint, you need to do it in coats and spray at a slight distance, if you get to close or spay too much in one spot at a time then the paint/ glitter can run. Shake the can VERY well before spraying to mix the glitter, this also helps to keep the can from clogging. If you live in a cold/ damp climate you need to take caution when spraying it may not tack up if its too cold out (you can spray them in a garage or somewhere warmer to help, but be careful of over spray in this case).
Note: These are for decoration purpose only, not meant for actual food use.
These are so much fun because the possibilities are endless! you can do anything you want and make any character you want. Just need some glitter spray and away you go!
IF YOU LIKE THESE MAKE SURE TO CHECK OUT MY OTHER WINE GLASS CREATIONS HERE
